
Our SOPs
SOP: Cleaning, Disinfection, Storage & Transportation of
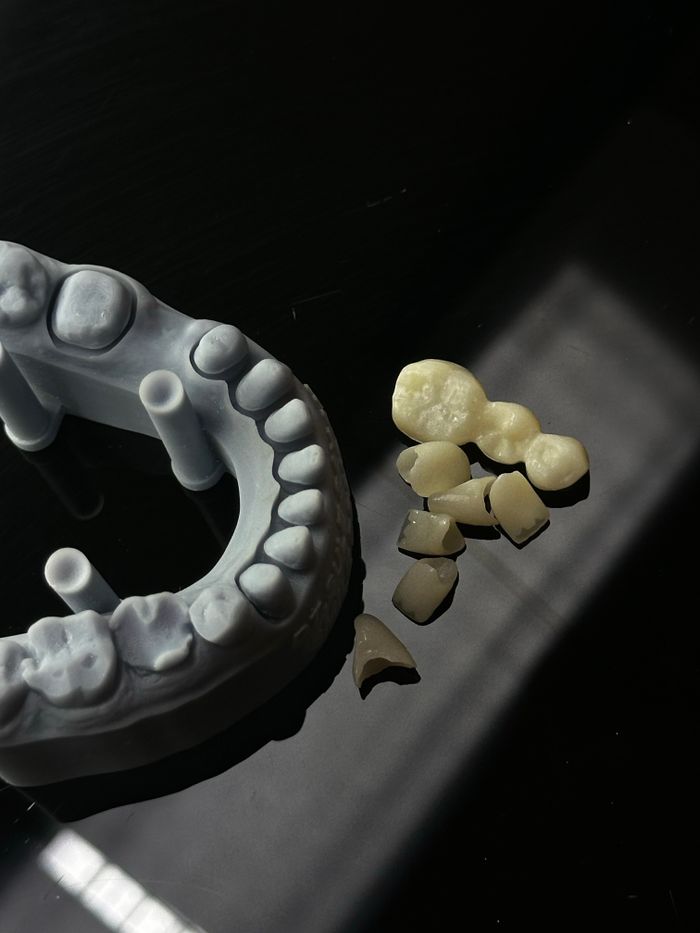
Dental Crowns
Step 1: Final Quality Inspection
Before packaging:
- Verify patient name and case ID.
- Check marginal integrity.
- Check occlusion and contacts.
- Inspect shade and surface finish.
- Remove any polishing debris.
- Inspect under magnification (2.5×–5×).
Step 2: Initial Cleaning
Remove contaminants such as:
- Zirconia dust
- Polishing paste
- Stone particles
- Fingerprints
- Saliva from articulators (if applicable)
Ultrasonic Cleaning
- Use distilled or deionized water.
- Add a laboratory-approved neutral cleaning solution if needed.
- Clean for 3–5 minutes.
- Rinse thoroughly.
For implant restorations, ensure all screw channels are flushed clean.
Step 1: Final Quality Inspection
Before packaging:
- Verify patient name and case ID.
- Check marginal integrity.
- Check occlusion and contacts.
- Inspect shade and surface finish.
- Remove any polishing debris.
- Inspect under magnification (2.5×–5×).
Step 2: Initial Cleaning
Remove contaminants such as:
- Zirconia dust
- Polishing paste
- Stone particles
- Fingerprints
- Saliva from articulators (if applicable)
Ultrasonic Cleaning
- Use distilled or deionized water.
- Add a laboratory-approved neutral cleaning solution if needed.
- Clean for 3–5 minutes.
- Rinse thoroughly.
For implant restorations, ensure all screw channels are flushed clean.
Step 3: Drying
Dry using:
- Oil-free compressed air
- Lint-free wipes
- Clean drying cabinet
Step 4: Disinfection
The disinfection method depends on the restorative material.
| Material | Recommended Method |
|---|---|
| Zirconia | EPA- or hospital-grade disinfectant compatible with dental prostheses, following the manufacturer's contact time |
| Lithium Disilicate | Manufacturer-approved disinfectant; avoid prolonged exposure to harsh chemicals |
| PFM | Hospital-grade disinfectant |
| Metal Crown | Hospital-grade disinfectant |
| PMMA | Compatible surface disinfectant; avoid solvents that may damage acrylic |
Step 3: Drying
Dry using:
- Oil-free compressed air
- Lint-free wipes
- Clean drying cabinet
Step 4: Disinfection
The disinfection method depends on the restorative material.
| Material | Recommended Method |
|---|---|
| Zirconia | EPA- or hospital-grade disinfectant compatible with dental prostheses, following the manufacturer's contact time |
| Lithium Disilicate | Manufacturer-approved disinfectant; avoid prolonged exposure to harsh chemicals |
| PFM | Hospital-grade disinfectant |
| Metal Crown | Hospital-grade disinfectant |
| PMMA | Compatible surface disinfectant; avoid solvents that may damage acrylic |
Step 5: Do NOT Steam Sterilize in the Lab (Routine Crowns)
- The restoration may be handled again during seating.
- Packaging is generally not maintained as a sterile barrier.
- The clinic should follow its own infection-control protocol before try-in or cementation.
Step 6: Handling
Technicians should:
- Wear clean nitrile gloves.
- Avoid touching the internal surface
- Use clean tweezers where appropriate.
- Handle over a clean tray.
Step 5: Do NOT Steam Sterilize in the Lab (Routine Crowns)
- The restoration may be handled again during seating.
- Packaging is generally not maintained as a sterile barrier.
- The clinic should follow its own infection-control protocol before try-in or cementation.
Step 6: Handling
Technicians should:
- Wear clean nitrile gloves.
- Avoid touching the internal surface
- Use clean tweezers where appropriate.
- Handle over a clean tray.
Step 7: Packaging
Primary Container :
- Individual crown box
- Silicone holder
- Foam-lined container
The restoration should not move during transport.
Secondary Packaging :
- Sealed laboratory pouch
- Zip-lock medical pouch
- Tamper-evident bag (preferred)
- Prescription copy
- Shade details
- Material information
- Batch number (if applicable)
- Cementation recommendations (optional)
Step 8: Labeling
- Patient Name
- Clinic Name
- Doctor Name
- Tooth Number
- Restoration Type
- Material
- Shade
- Case Number
- Date of dispatch
Step 7: Packaging
Primary Container :
- Individual crown box
- Silicone holder
- Foam-lined container
The restoration should not move during transport.
Secondary Packaging :
- Sealed laboratory pouch
- Zip-lock medical pouch
- Tamper-evident bag (preferred)
- Prescription copy
- Shade details
- Material information
- Batch number (if applicable)
- Cementation recommendations (optional)
Step 8: Labeling
- Patient Name
- Clinic Name
- Doctor Name
- Tooth Number
- Restoration Type
- Material
- Shade
- Case Number
- Date of dispatch
Step 9: Do Storage Before Dispatch
- Closed cabinet
- Dust-free environment
- Room temperature
- Low humidity
- Away from chemicals
- Away from direct sunlight
Step 10: Transportation
Transport in :
- Rigid transport box
- Shock-resistant case
- Courier container with padding
Avoid :
- Excessive vibration
- High heat
- Moisture
- Heavy loads on top of the package
Step 11: Delivery to Clinic
- Crown in sealed packaging
- Work authorization
- Material identification
- Shade details
- Implant component details (if applicable)
Instructions for the Dental Clinic
1. Inspect the sealed package on arrival.
2. Disinfect the restoration according to its infection-control protocol and the material manufacturer’s recommendations before intraoral try-in.
3. Clean again after adjustments before final cementation.
Our Expertise

Advanced Dental Solutions
At AstraDentLab, we are committed to delivering exceptional dental solutions through precision, innovation, and advanced technology. Our expertise lies in creating high-quality dental restorations that meet the unique requirements of dental professionals and their patients.
With a focus on accuracy, aesthetics, and functionality, our skilled dental technicians combine modern techniques with years of experience to achieve outstanding results. Every restoration is carefully crafted using premium materials and advanced workflows to ensure superior quality and patient satisfaction.

Digital Dentistry & Innovation
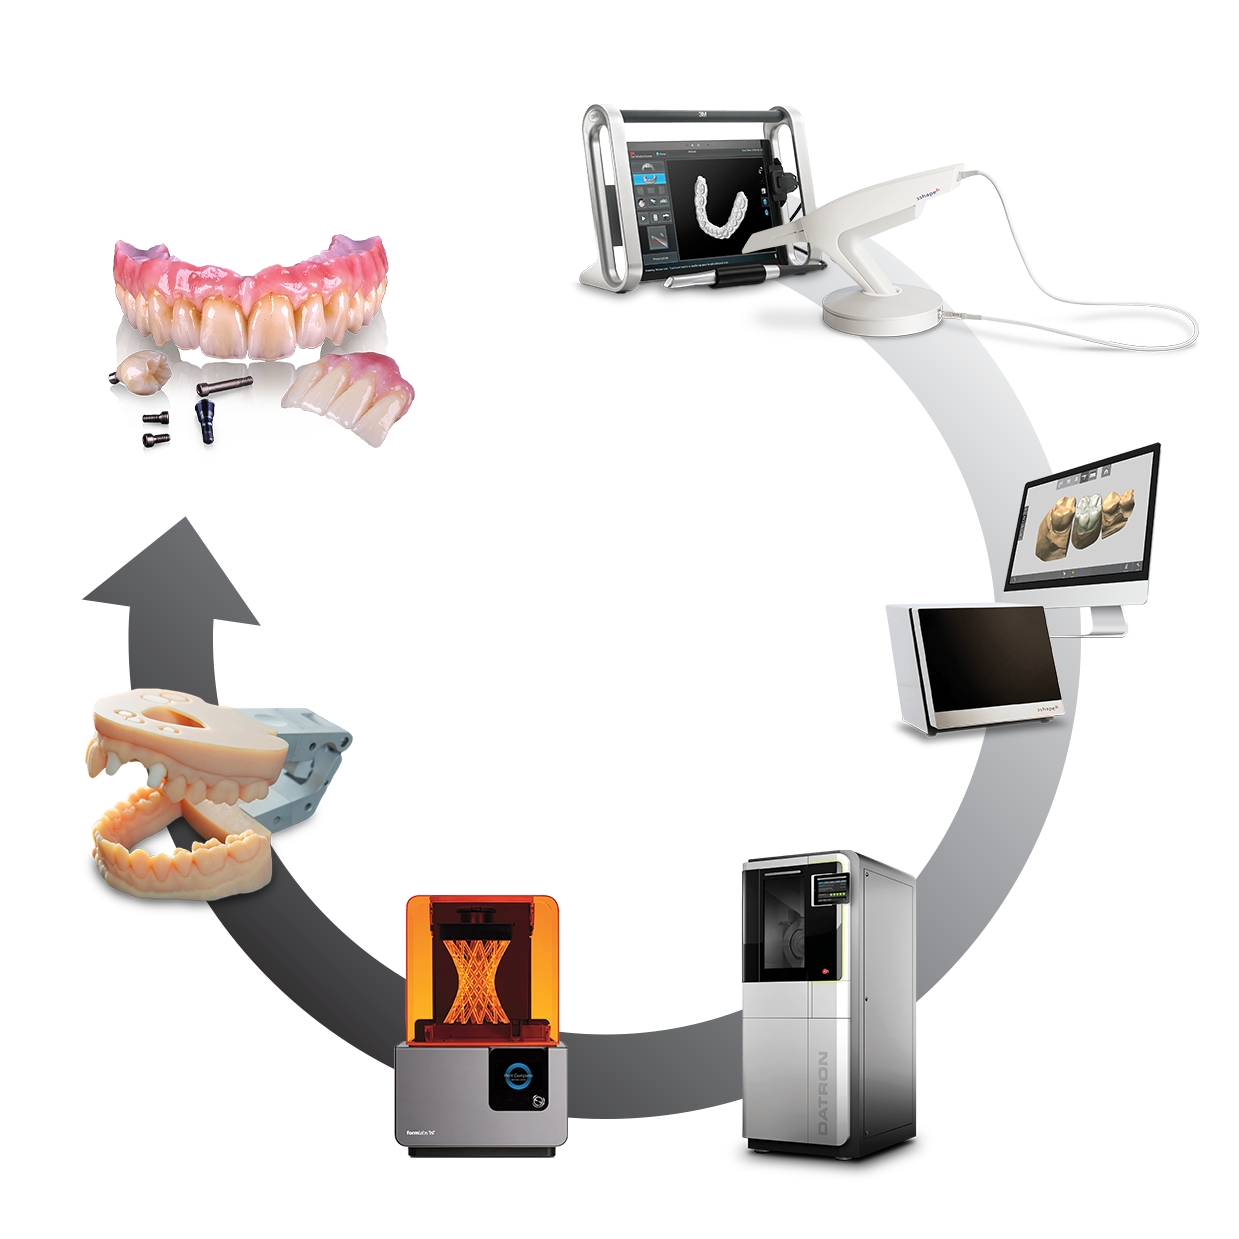
We embrace the latest advancements in dental technology to improve accuracy, efficiency, and consistency in our workflow. From digital impressions to advanced designing techniques, we integrate innovation into every stage of the restoration process.
Our commitment to continuous improvement helps us deliver predictable outcomes and support dentists with reliable dental laboratory solutions.
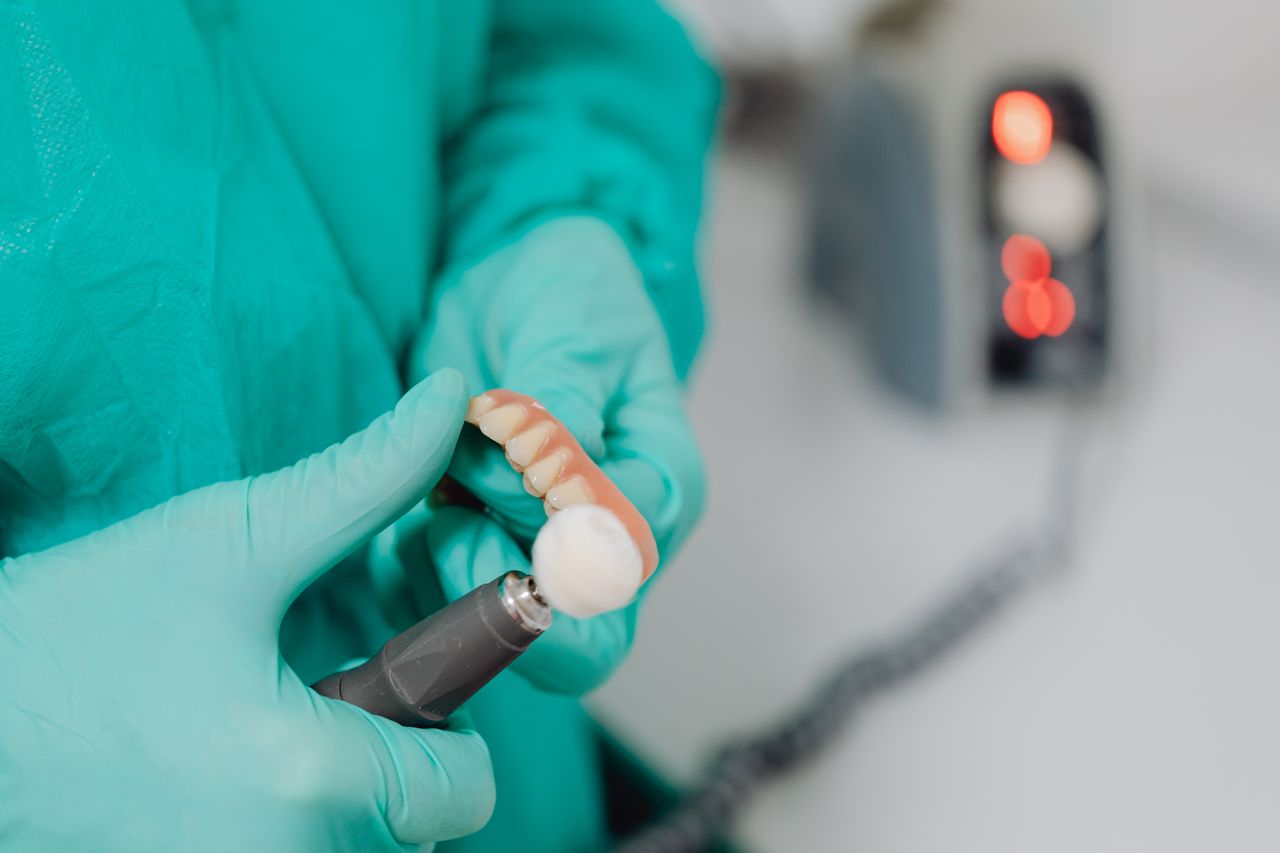
Quality & Precision
Quality is at the heart of everything we do at AstraDentLab. Each case undergoes detailed attention and strict quality checks to ensure excellent fit, durability, and natural aesthetics.
We believe in building long-term partnerships with dental professionals by providing dependable service, timely delivery, and exceptional craftsmanship.
Call Today
+91 81241 90999
Send Your Inquiry
info@astradentlab.in
Astradent Dental Solutions
No-48, 1st Floor, First Main Road, Nanganallur,Chennai - 60006
Call Today
+91 81241 90999
Send Your Inquiry
info@astradentlab.in
Astradent Dental Solutions
No-48, 1st Floor, First Main Road, Nanganallur,Chennai - 60006
